Cosmetic Equipment
How to Fix Plantar Fasciitis: 5 Stretches and Exercises for Heel Pain
How to Fix Plantar Fasciitis: 5 Stretches and Exercises for Heel Pain
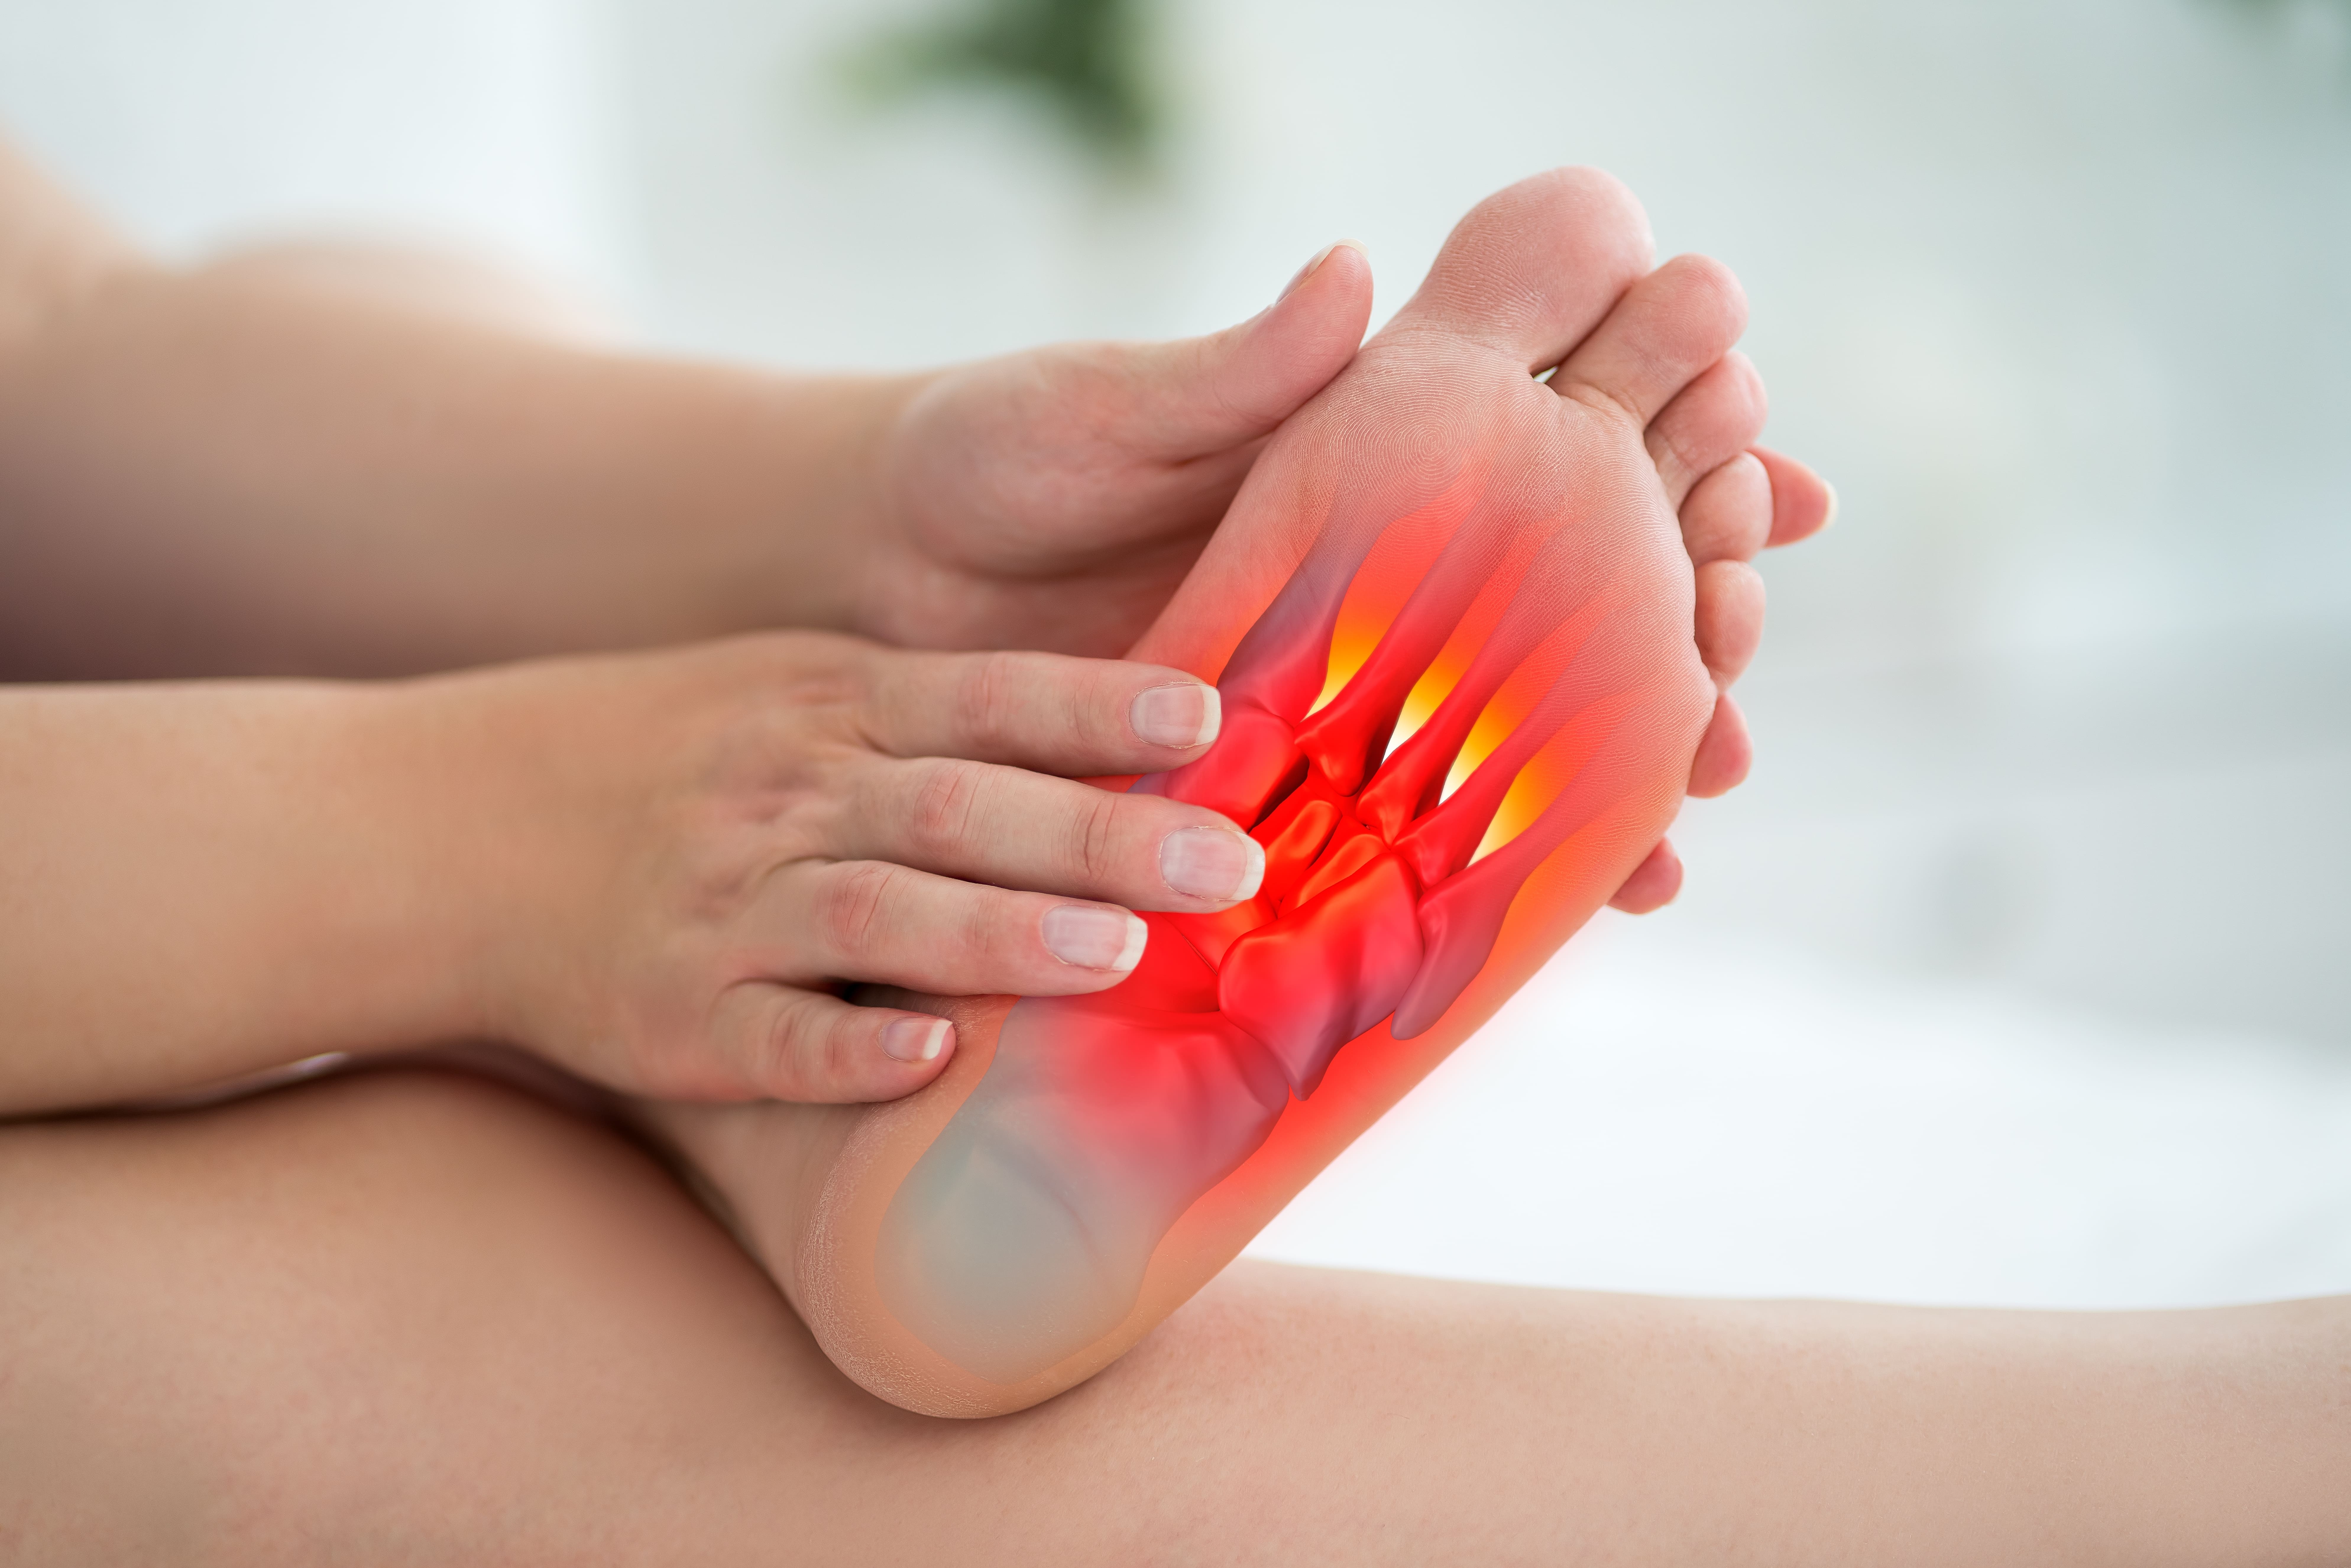
Are you experiencing distinct and excruciating pain in your heels? It’s not a dull ache; it's a sharp, stabbing, "hot poker" feeling in your heel, especially with your very first steps out of bed. That morning hobble to the bathroom, the wincing... that is the calling card of Plantar Fasciitis.
This common, stubborn, and aggravating condition can take the joy out of everything from your morning run to a simple walk in the grocery store. But you are not destined to live with it. The key to learning how to fix plantar fasciitis is understanding that the pain is in your heel, but the problem is often in your calf. Let’s walk through this 5-step guide to relieving the pain and fixing the problem at its source.
What Is Plantar Fasciitis?
First, let's understand the enemy. Your Plantar Fascia is a thick, powerful, web-like band of tissue (like a "bowstring") that runs along the bottom of your foot, connecting your heel bone to your toes. It’s designed to support your arch and absorb shock.
Plantar Fasciitis is what happens when this "bowstring" gets over-stressed, over-used, and inflamed. It's an overuse injury, often caused by:
Sudden increases in activity (like a new running program)
Unsupportive shoes (like flat flip-flops or old sneakers)
And the #1 hidden culprit: Chronically tight calf muscles.
Your calf muscles connect to your heel via the Achilles tendon. When your calves are tight, they pull constantly on your heel bone, which, in turn, pulls and over-stresses your plantar fascia.
The solution of this heel pain comprises 3 steps: Release the tight tissue, Stretch the muscles, and Strengthen the foot.
Step 1: Release the Tension (Self-Massage)
You cannot stretch a "knot." You have to release it first.
The Tool: A lacrosse ball, a golf ball, or a frozen water bottle.
The Move (Foot Roll): While seated, place the ball under your foot. Gently roll it back and forth, from your heel to the ball of your foot. When you find a tender "hot spot," stop and rest your weight on it for 20-30 seconds until you feel it "melt" or release. Do this for 2-3 minutes.
The Calf Release: Now, address the source. Sit on the floor with your legs straight. Place a foam roller (or the lacrosse ball) under your calf muscle. Lift your hips and slowly roll from your ankle to just below your knee. When you find a tender spot, stop and hold.
Step 2: Stretch the Calf (The Plantar Fasciitis Stretches)
Now that the muscles are "released," you can lengthen them.
The Move 1: Runner's Stretch (Gastrocnemius): Stand facing a wall. Place one foot back, keeping your back leg straight and your heel on the floor. Lean forward until you feel a deep stretch in your upper calf. Hold for 30-45 seconds.
The Move 2: Soleus Stretch (Deep Calf): From the same position, bend your back knee slightly. This targets the deeper, lower calf muscle (the soleus), which is often the tightest. Hold for 30-45 seconds.
The Move 3: Towel Stretch: This is the first one you should do in the morning, before you get out of bed. Keep a towel by your bed. Loop it around the ball of your foot and gently pull your toes toward you, keeping your knee straight. Hold for 30 seconds. This "warms up" the fascia before that painful first step.
Step 3: Strengthen the Foot (The Long-Term Fix)
This is the step everyone skips, and it's why the pain comes back. You must build a stronger, more supportive foot.
The Move 1: Towel Scrunches: Place a small hand towel on the floor. Use only your toes to try and "scrunch" the entire towel toward you.
The Move 2: Short-Foot Exercise: While seated, try to "shorten" your foot by pulling the ball of your foot back toward your heel, without curling your toes. You are trying to "dome" your arch. This is the #1 exercise for building arch strength.
Step 4: Load the Tendon (The Eccentric Heal Drop)
This is the gold-standard rehab exercise.
The Move: Stand on the edge of a stair. Go up on both feet. At the top, lift your good foot off the stair.
The Fix: Very slowly (to a count of 3-5 seconds), lower your injured heel down, dropping it as far as it will comfortably go.
Reset: Place your good foot back down and use both feet to push back up. (The "up" is easy, the "down" is the work). Aim for 3 sets of 10-15 reps.
Step 5: Fix the Environment (The "Other" Fixes)
Shoes: Throw out your old, flat, worn-out shoes. Invest in supportive footwear, even for inside the house. Never walk barefoot on hard surfaces until the pain is gone.
Rest & Ice: In the acute, painful phase, rest. Roll a frozen water bottle under your foot for 15 minutes.
See a Pro: If the exercises for heel pain don't bring relief after 2-3 weeks, it is best to see a podiatrist or a physical therapist.
Conclusion
This is not a "forever" problem. It's a "fixable" one. Be patient, be consistent with these moves, and you will get back on your feet, pain-free.